幽灵资源网 Design By www.bzswh.com
素材图片整体颜色也比较比较暗,只是画面有点杂乱。处理的时候先把主色转为暖色;然后用曲线工具把暗部压暗,并增加蓝色;再在边角区域渲染一些暖色高光作为阳光即可。
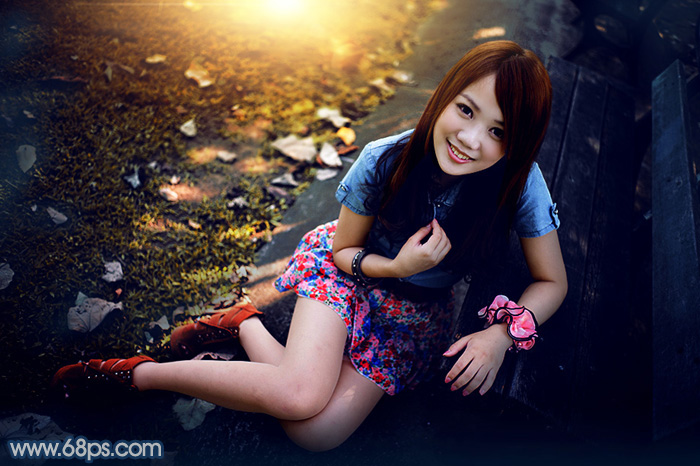
原图

最终效果
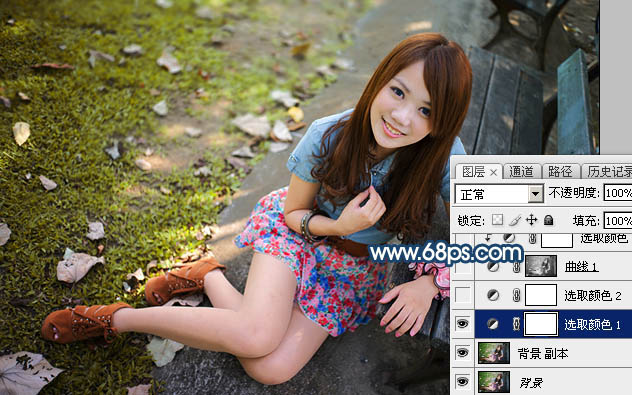
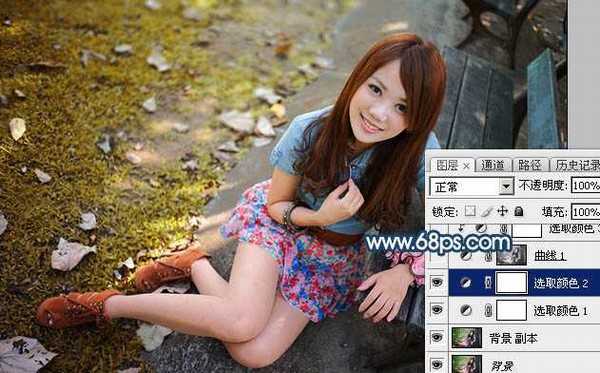
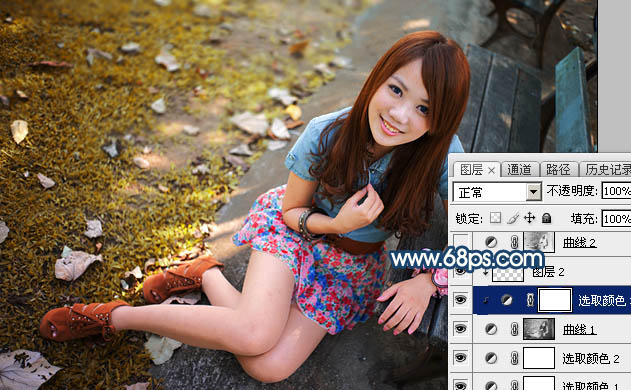
1、打开原图素材大图,按Ctrl + J 把背景图层复制一层,然后用模糊工具把下图红圈区域模糊处理,增加图片景深。
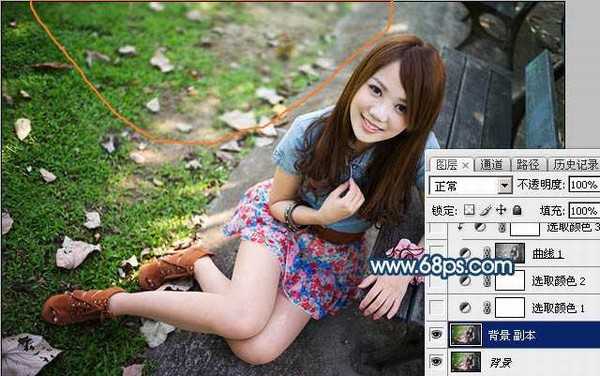
<图1>
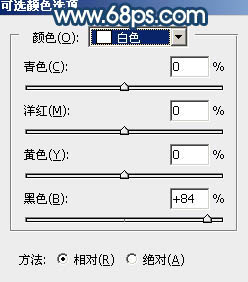
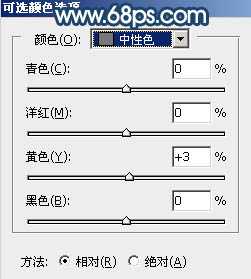
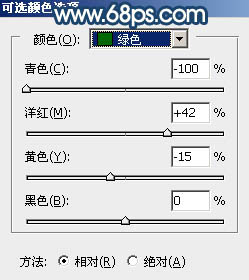
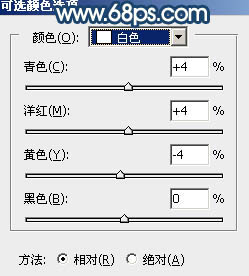
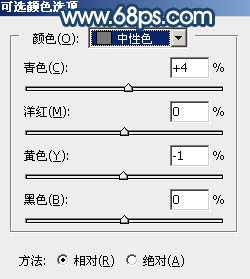
2、创建可选颜色调整图层,对黄、绿、白、中性色进行调整,参数设置如图2 - 5,效果如图6。这一步把黄绿色转为橙黄色,并把高光区域颜色调暗。
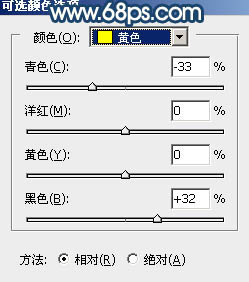
<图2>
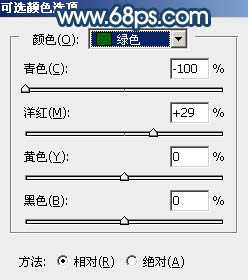
<图3>
<图4>
<图5>
<图6>
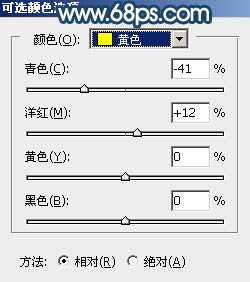
3、创建可选颜色调整图层,对黄色,绿色进行调整,参数设置如图7,8,效果如图9。这一步给图片增加橙黄色。
<图7>
<图8>
<图9>
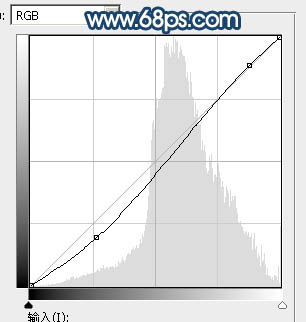
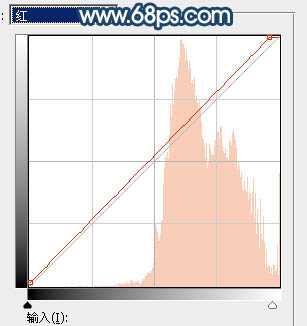
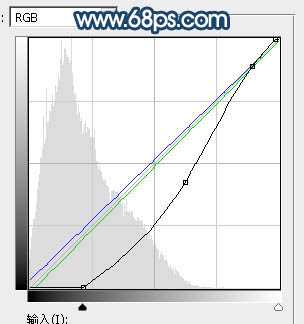
4、按Ctrl + Alt + 2 调出高光选区,然后创建曲线调整图层,对RGB、红、绿、蓝通道进行调整,参数设置如图10 - 13,效果如图14。这一步增加高光区域明暗对比,并增加暖色。
<图10>
<图11>
<图12>
<图13>
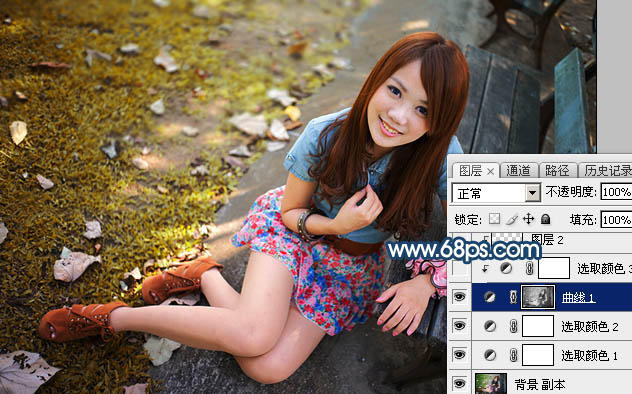
<图14>
5、创建可选颜色调整图层,对黄、白、中性色进行调整,参数设置如图15 - 17,确定后按Ctrl + Alt + G 创建剪切蒙版,效果如图18。这一步给高光区域增加橙红色。

<图15>
<图16>
<图17>
<图18>
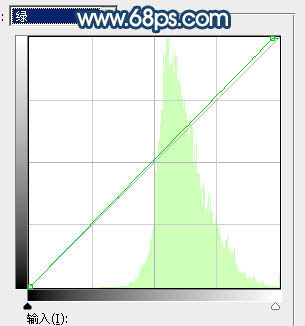
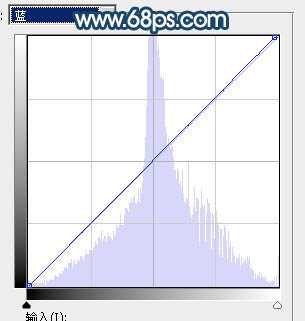
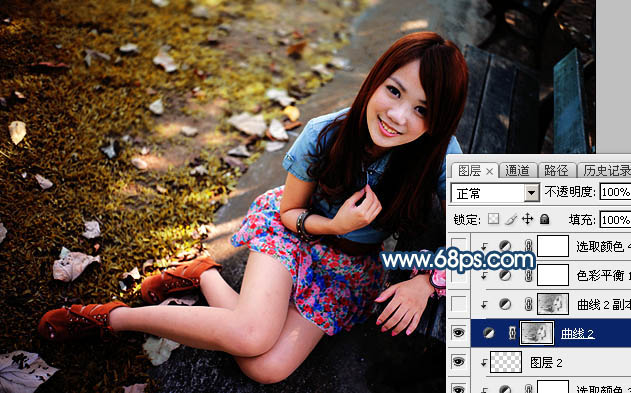
6、按Ctrl + Alt + 2 调出高光选区,按Ctrl + Shift + I 反选得到暗部选区,然后创建曲线调整图层,对RGB、绿、蓝通道进行调整,参数及效果如下图。这一步把暗部大幅压暗,并增加冷色。
<图19>
<图20>
7、按Ctrl + J 把当前曲线调整图层复制一层,创建剪切蒙版后效果如下图。
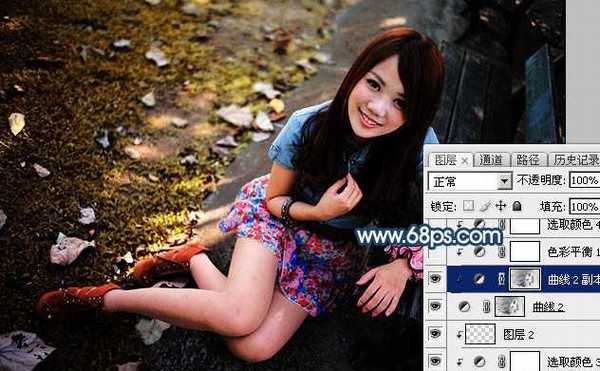
<图21>
8、创建色彩平衡调整图层,对阴影,高光进行调整,参数设置如图22,23,确定后创建剪切蒙版,效果如图24。这一步主要给图片暗部增加蓝色。
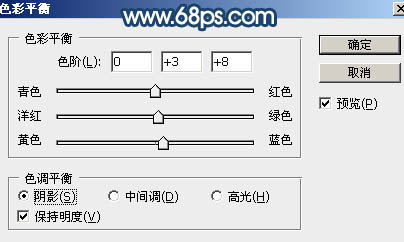
<图22>

<图23>
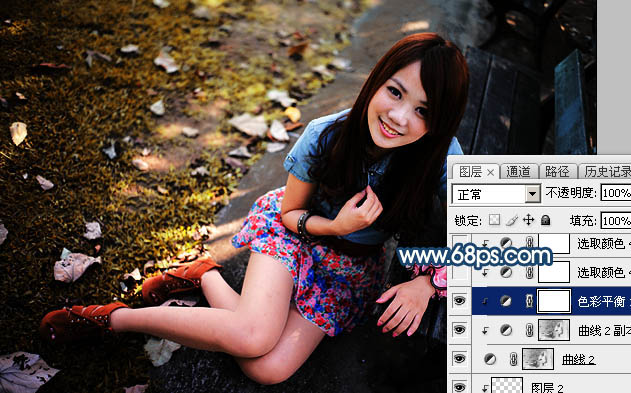
<图24> 上一页12 下一页 阅读全文
原图
最终效果
1、打开原图素材大图,按Ctrl + J 把背景图层复制一层,然后用模糊工具把下图红圈区域模糊处理,增加图片景深。
<图1>
2、创建可选颜色调整图层,对黄、绿、白、中性色进行调整,参数设置如图2 - 5,效果如图6。这一步把黄绿色转为橙黄色,并把高光区域颜色调暗。
<图2>
<图3>
<图4>
<图5>
<图6>
3、创建可选颜色调整图层,对黄色,绿色进行调整,参数设置如图7,8,效果如图9。这一步给图片增加橙黄色。
<图7>
<图8>
<图9>
4、按Ctrl + Alt + 2 调出高光选区,然后创建曲线调整图层,对RGB、红、绿、蓝通道进行调整,参数设置如图10 - 13,效果如图14。这一步增加高光区域明暗对比,并增加暖色。
<图10>
<图11>
<图12>
<图13>
<图14>
5、创建可选颜色调整图层,对黄、白、中性色进行调整,参数设置如图15 - 17,确定后按Ctrl + Alt + G 创建剪切蒙版,效果如图18。这一步给高光区域增加橙红色。
<图15>
<图16>
<图17>
<图18>
6、按Ctrl + Alt + 2 调出高光选区,按Ctrl + Shift + I 反选得到暗部选区,然后创建曲线调整图层,对RGB、绿、蓝通道进行调整,参数及效果如下图。这一步把暗部大幅压暗,并增加冷色。
<图19>
<图20>
7、按Ctrl + J 把当前曲线调整图层复制一层,创建剪切蒙版后效果如下图。
<图21>
8、创建色彩平衡调整图层,对阴影,高光进行调整,参数设置如图22,23,确定后创建剪切蒙版,效果如图24。这一步主要给图片暗部增加蓝色。
<图22>
<图23>
<图24> 上一页12 下一页 阅读全文
标签:
草坪,人物,晨曦,阳光
幽灵资源网 Design By www.bzswh.com
广告合作:本站广告合作请联系QQ:858582 申请时备注:广告合作(否则不回)
免责声明:本站文章均来自网站采集或用户投稿,网站不提供任何软件下载或自行开发的软件! 如有用户或公司发现本站内容信息存在侵权行为,请邮件告知! 858582#qq.com
免责声明:本站文章均来自网站采集或用户投稿,网站不提供任何软件下载或自行开发的软件! 如有用户或公司发现本站内容信息存在侵权行为,请邮件告知! 858582#qq.com
幽灵资源网 Design By www.bzswh.com
暂无评论...