幽灵资源网 Design By www.bzswh.com
素材图片天空与背景非常分明,可以快速提取天空选区,加上霞光素材;然后给背景部分增加暖色,把人物部分压暗,并增加暖色;最后给图片渲染阳光,增加暗角等即可。
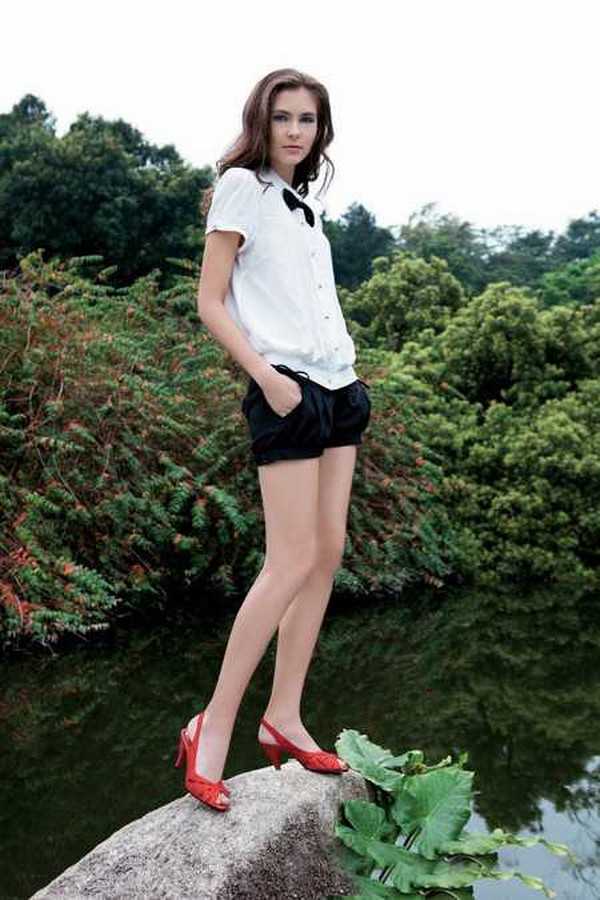
原图
最终效果

1、打开原图素材大图,创建可选颜色调整图层,对黄色,绿色进行调整,参数设置如图1,2,效果如图3。这一步给图片增加黄褐色。
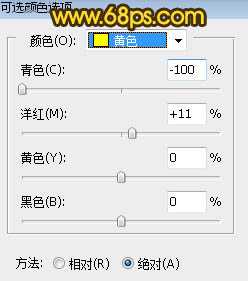
<图1>
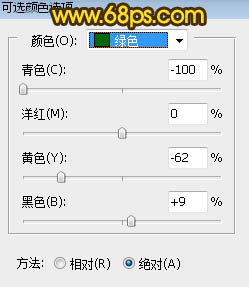
<图2>
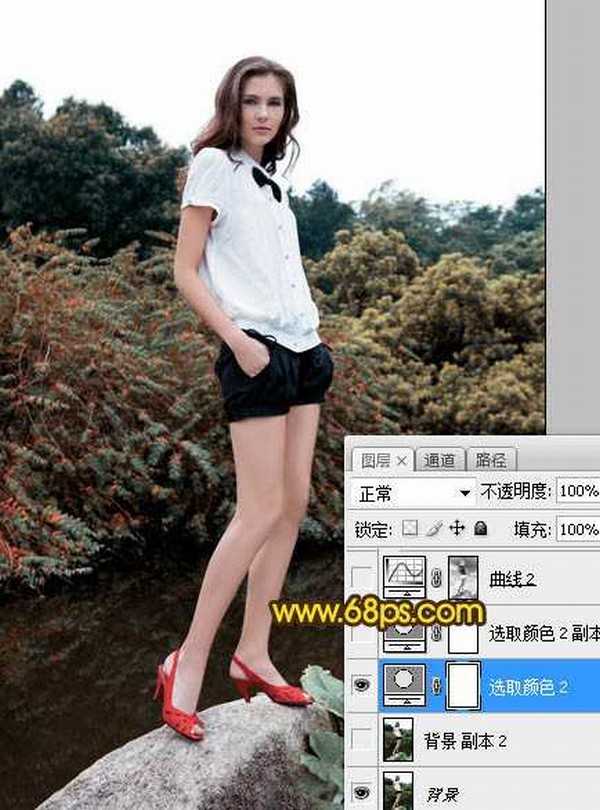
<图3>
2、按Ctrl + J 把当前可选颜色调整图层复制一层,不透明度改为:50%,效果如下图。

<图4>
3、按Ctrl + Alt + 2 调出高光选区,按Ctrl + Shift + I 反选得到暗部选区,然后创建曲线调整图层,对RGB、红、蓝通道进行调整,参数及效果如下图。这一步把图片暗部压暗,并增加蓝红色。
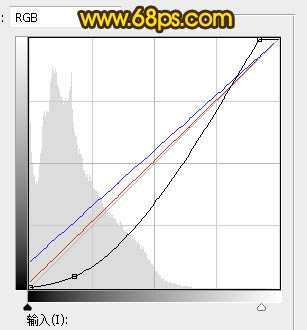
<图5>

<图6>
4、创建色彩平衡调整图层,对阴影进行调整,参数设置如图7,确定后按Ctrl + Alt + G 创建剪切蒙版,效果如图8。这一步给图片暗部增加冷色。
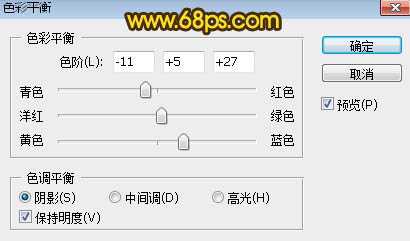
<图7>

<图8>
5、把背景图层复制一层,按Ctrl + Shift + ] 置顶,用自己熟悉的方法把天空部分抠出来,转为选区后填充白色;取消选区后再用透明度较低的柔边白色画笔把底部过渡涂抹自然,效果如图10。
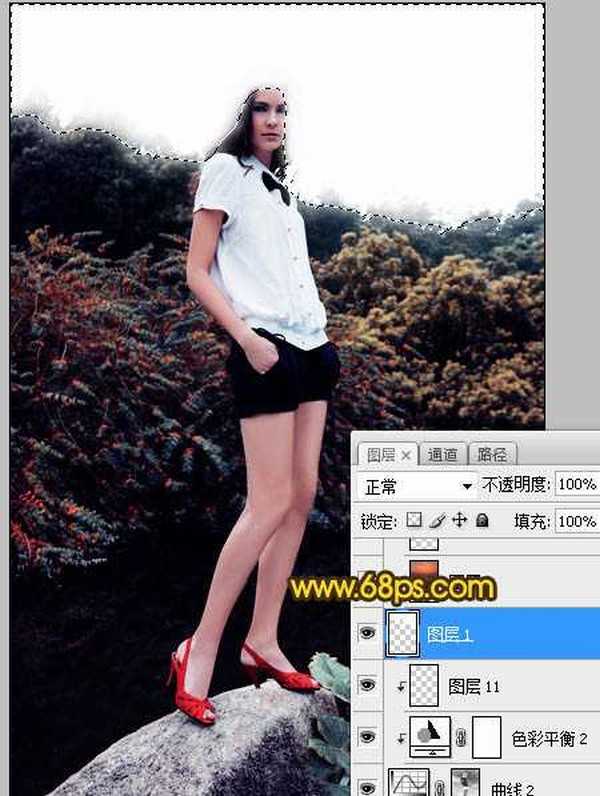
<图9>

<图10>
6、保存图11所示的天空素材,用PS打开后拖进来,创建剪切蒙版后调整好位置,效果如图12。
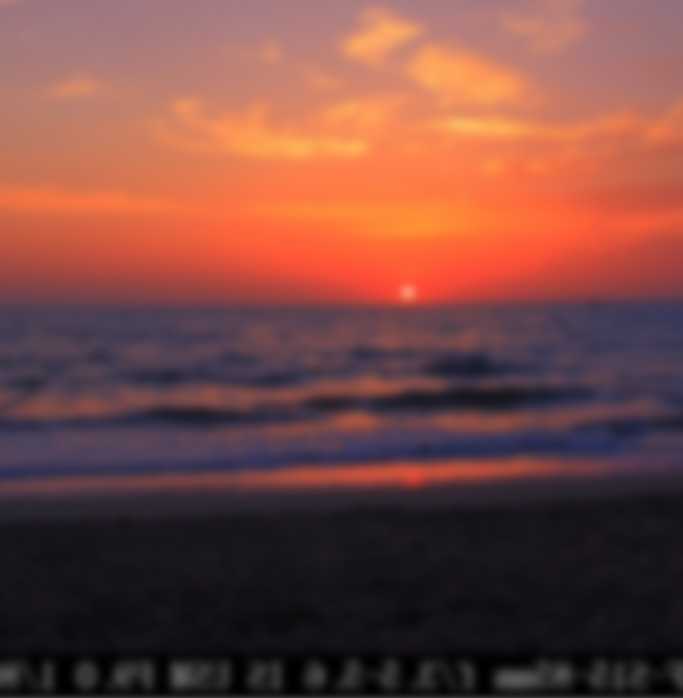
<图11>
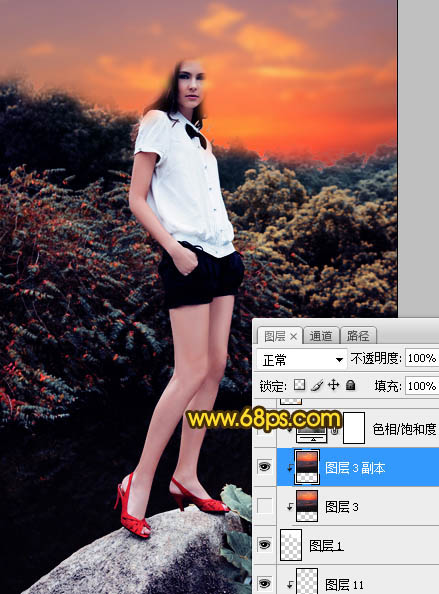
<图12>
7、创建色相/饱和度调整图层,对红色进行调整,参数设置如图13,确定后创建剪切蒙版,效果如图14。这一步把天空部分的红色转为橙黄色。
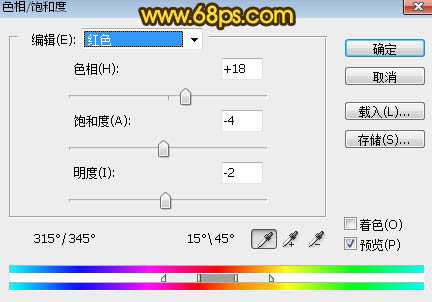
<图13>

<图14>
8、新建一个图层,用套索工具勾出下图所示的选区,羽化55个像素后填充橙红色:#CF7411,取消选区后把混合模式改为“叠加”,效果如下图。
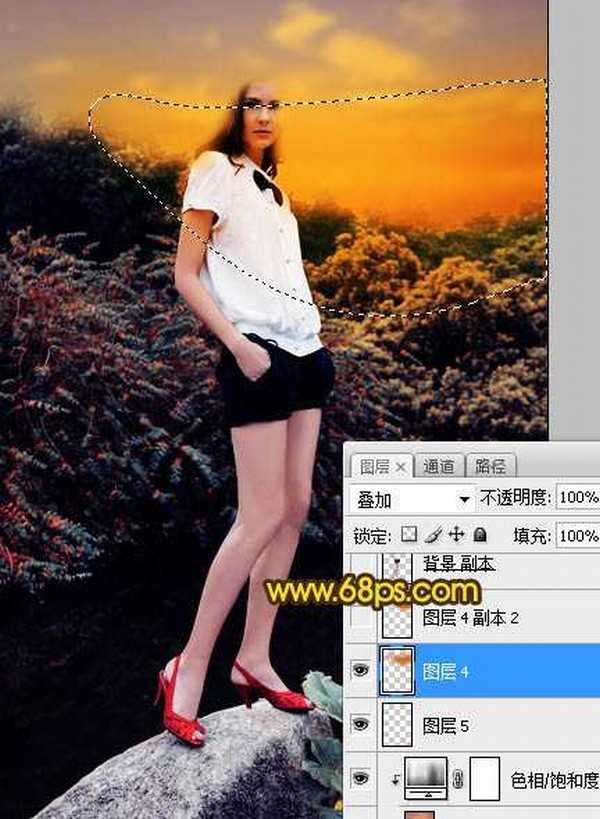
<图15>
9、新建一个图层,用套索工具勾出下图所示的选区,羽化45个像素后填充橙红色:#CF7411,取消选区后把混合模式改为“滤色”,效果如下图。这两步给图片增加橙黄色高光。

<图16>
上一页12 下一页 阅读全文
原图
最终效果
1、打开原图素材大图,创建可选颜色调整图层,对黄色,绿色进行调整,参数设置如图1,2,效果如图3。这一步给图片增加黄褐色。
<图1>
<图2>
<图3>
2、按Ctrl + J 把当前可选颜色调整图层复制一层,不透明度改为:50%,效果如下图。
<图4>
3、按Ctrl + Alt + 2 调出高光选区,按Ctrl + Shift + I 反选得到暗部选区,然后创建曲线调整图层,对RGB、红、蓝通道进行调整,参数及效果如下图。这一步把图片暗部压暗,并增加蓝红色。
<图5>
<图6>
4、创建色彩平衡调整图层,对阴影进行调整,参数设置如图7,确定后按Ctrl + Alt + G 创建剪切蒙版,效果如图8。这一步给图片暗部增加冷色。
<图7>
<图8>
5、把背景图层复制一层,按Ctrl + Shift + ] 置顶,用自己熟悉的方法把天空部分抠出来,转为选区后填充白色;取消选区后再用透明度较低的柔边白色画笔把底部过渡涂抹自然,效果如图10。
<图9>
<图10>
6、保存图11所示的天空素材,用PS打开后拖进来,创建剪切蒙版后调整好位置,效果如图12。
<图11>
<图12>
7、创建色相/饱和度调整图层,对红色进行调整,参数设置如图13,确定后创建剪切蒙版,效果如图14。这一步把天空部分的红色转为橙黄色。
<图13>
<图14>
8、新建一个图层,用套索工具勾出下图所示的选区,羽化55个像素后填充橙红色:#CF7411,取消选区后把混合模式改为“叠加”,效果如下图。
<图15>
9、新建一个图层,用套索工具勾出下图所示的选区,羽化45个像素后填充橙红色:#CF7411,取消选区后把混合模式改为“滤色”,效果如下图。这两步给图片增加橙黄色高光。
<图16>
上一页12 下一页 阅读全文
标签:
暗调,霞光色,人物
幽灵资源网 Design By www.bzswh.com
广告合作:本站广告合作请联系QQ:858582 申请时备注:广告合作(否则不回)
免责声明:本站文章均来自网站采集或用户投稿,网站不提供任何软件下载或自行开发的软件! 如有用户或公司发现本站内容信息存在侵权行为,请邮件告知! 858582#qq.com
免责声明:本站文章均来自网站采集或用户投稿,网站不提供任何软件下载或自行开发的软件! 如有用户或公司发现本站内容信息存在侵权行为,请邮件告知! 858582#qq.com
幽灵资源网 Design By www.bzswh.com
暂无评论...