幽灵资源网 Design By www.bzswh.com
最终效果
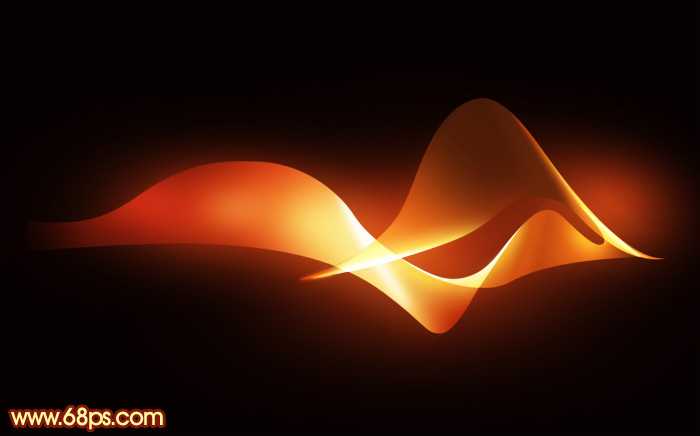
1、新建一个1024 * 768像素的文档,背景填充黑色。新建一个图层,用椭圆选框工具拉一个正圆选区,羽化80个像素后填充橙红色:#FF6225。

<图1>
2、取消选区后把得到的光斑稍微变形处理,如下图。
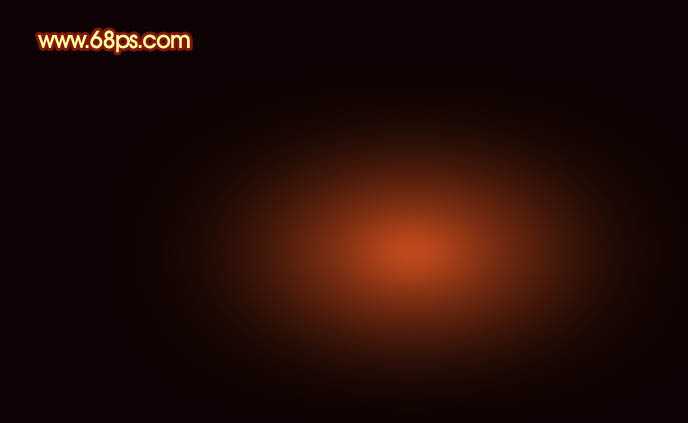
<图2>
3、然后再复制并稍微调整大小和位置,效果如下图。

<图3>
4、现在来制作光束,先来制作底部的光束,需要完成的效果如下图。

<图4>
5、新建一个组,用钢笔勾出光束的轮廓路径,转为选区后给组添加图层蒙版,如图5,6。

<图5>
<图6>
6、在组里新建一个图层,给光束填充底色,这里填充橙黄色:#F89D45。

<图7>
7、新建一个图层,用钢笔勾出左侧暗部选区,羽化25个像素后填充红色:#DB4B1F。
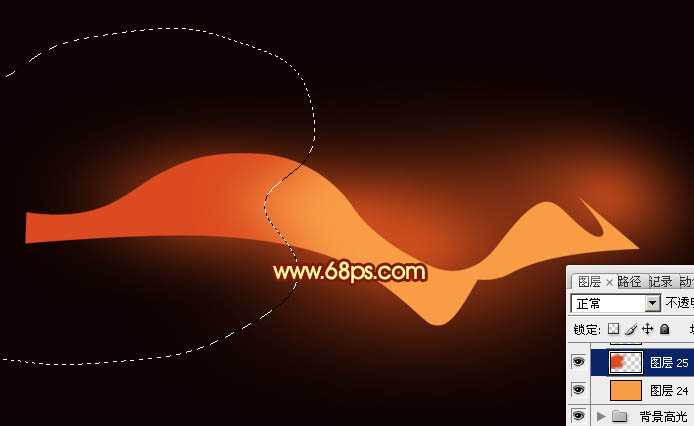
<图8>
8、新建一个图层,用钢笔勾出左侧边缘暗部选区,羽化35个像素后填充暗红色。

<图9>
9、新建一个图层,用钢笔勾出左侧顶部的暗部区域,羽化25个像素后填充黑色,效果如下图。
<图10>
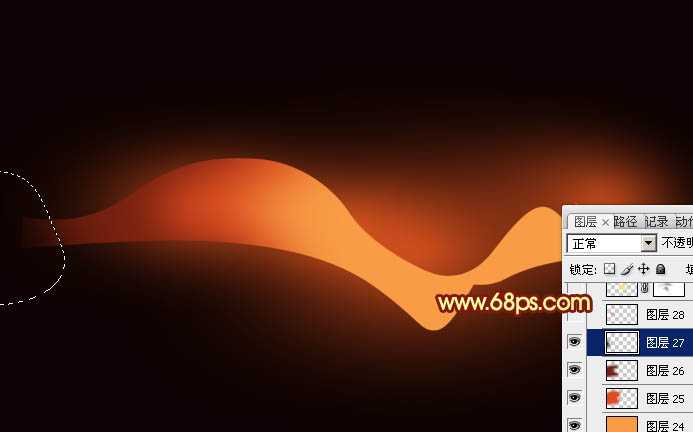
10、新建一个图层,用钢笔勾出左侧反光部分的选区,羽化10个像素后填充红色,如下图。

<图11>
11、新建一个图层,用钢笔勾出中间高光部分的选区,羽化25个像素后填充橙黄色:#F9E381,如下图。

<图12>
上一页12 下一页 阅读全文
1、新建一个1024 * 768像素的文档,背景填充黑色。新建一个图层,用椭圆选框工具拉一个正圆选区,羽化80个像素后填充橙红色:#FF6225。
<图1>
2、取消选区后把得到的光斑稍微变形处理,如下图。
<图2>
3、然后再复制并稍微调整大小和位置,效果如下图。
<图3>
4、现在来制作光束,先来制作底部的光束,需要完成的效果如下图。
<图4>
5、新建一个组,用钢笔勾出光束的轮廓路径,转为选区后给组添加图层蒙版,如图5,6。
<图5>
<图6>
6、在组里新建一个图层,给光束填充底色,这里填充橙黄色:#F89D45。
<图7>
7、新建一个图层,用钢笔勾出左侧暗部选区,羽化25个像素后填充红色:#DB4B1F。
<图8>
8、新建一个图层,用钢笔勾出左侧边缘暗部选区,羽化35个像素后填充暗红色。
<图9>
9、新建一个图层,用钢笔勾出左侧顶部的暗部区域,羽化25个像素后填充黑色,效果如下图。
<图10>
10、新建一个图层,用钢笔勾出左侧反光部分的选区,羽化10个像素后填充红色,如下图。
<图11>
11、新建一个图层,用钢笔勾出中间高光部分的选区,羽化25个像素后填充橙黄色:#F9E381,如下图。
<图12>
上一页12 下一页 阅读全文
标签:
飘逸,红色,双层光束
幽灵资源网 Design By www.bzswh.com
广告合作:本站广告合作请联系QQ:858582 申请时备注:广告合作(否则不回)
免责声明:本站文章均来自网站采集或用户投稿,网站不提供任何软件下载或自行开发的软件! 如有用户或公司发现本站内容信息存在侵权行为,请邮件告知! 858582#qq.com
免责声明:本站文章均来自网站采集或用户投稿,网站不提供任何软件下载或自行开发的软件! 如有用户或公司发现本站内容信息存在侵权行为,请邮件告知! 858582#qq.com
幽灵资源网 Design By www.bzswh.com
暂无评论...