幽灵资源网 Design By www.bzswh.com
最终效果

1、新建一个800 * 800像素的画布。选择渐变工具,颜色设置如图1,然后由中心向边角拉出图2所示的径向渐变作为背景。
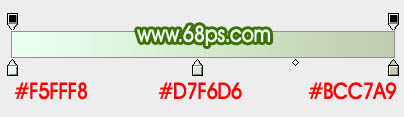
<图1>

<图2>
2、新建一组,在组里新建一个图层,现在开始制作花瓣部分。先来制作最前面的一片花瓣。用钢笔勾出花瓣的轮廓路径。转为选区后填充淡粉色:#FDEFF9,效果如下图。
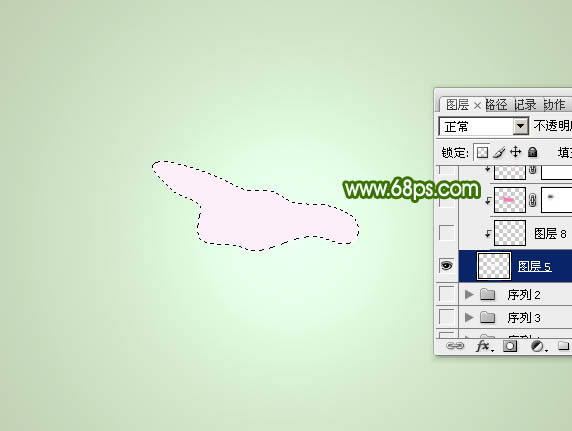
<图3>
3、新建一个图层,按Ctrl + Alt + G 创建剪切图层。然后在当前图层下面新建一个图层,用钢笔勾出上部边缘暗部选区,按Ctrl + Alt + D 羽化3个像素后填充比背景稍暗的颜色
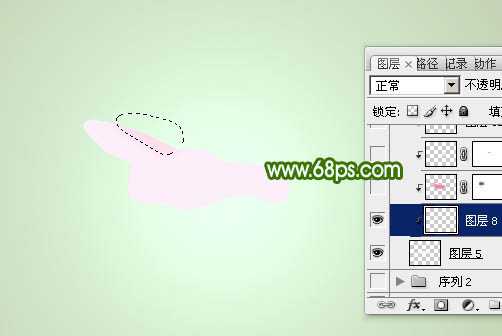
<图4>
4、新建一个图层,用钢笔勾出中间暗部选区,羽化2个像素后填充粉红色,取消选区后添加图层蒙版,用黑色画笔把左部边缘部分涂出过渡效果,如下图
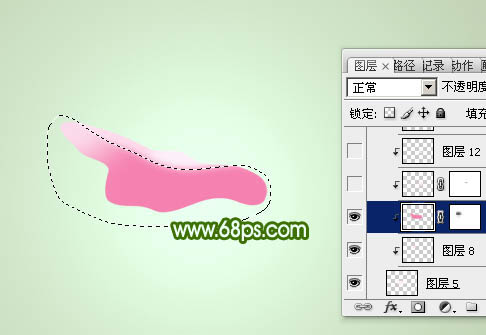
<图5>
5、新建一个图层,用钢笔勾出右边高光部分的选区,羽化3个像素后填充淡粉色
<图6>
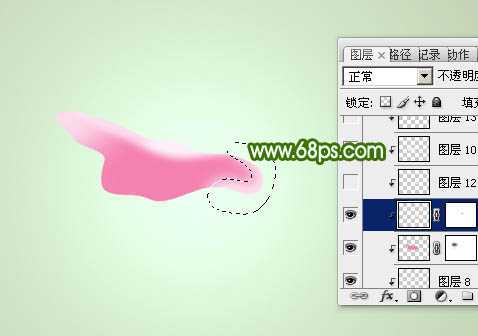
6、新建一个图层,用钢笔勾出右下部高光部分的选区,羽化3个像素后填充稍亮的粉色

<图7>
7、新建一个图层,用钢笔勾出下部的高光区域选区,转为选区后羽化2个像素并填充淡粉色。
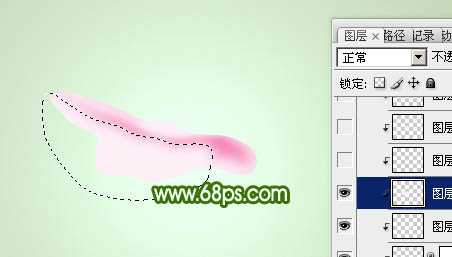
<图8>
8、新建一个图层,用钢笔勾出底部中间位置的暗部选区,羽化2个像素后填充粉红色。
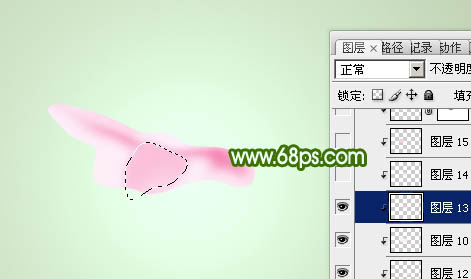
<图9>
9、新建一个图层,同上的方法勾出底部边缘暗部和高光选区,分别填充深浅不同的粉色,如图10,11。
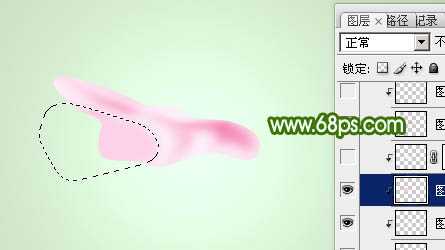
<图10>
<图11>
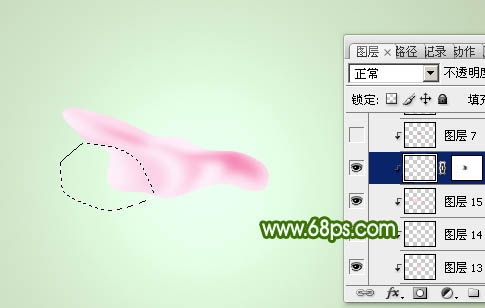
10、新建一个图层,同上的方法勾出顶部暗部选区,适当羽化后填充稍暗的粉红色,然后再逐步加深,过程如图12,13。花瓣大致完成的效果如图14。
<图12>
<图13>

<图14>
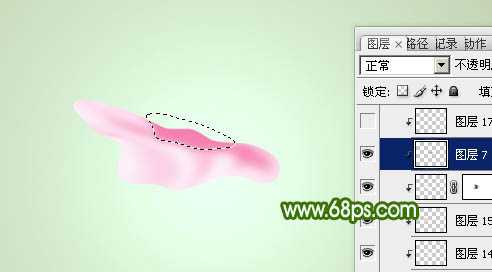
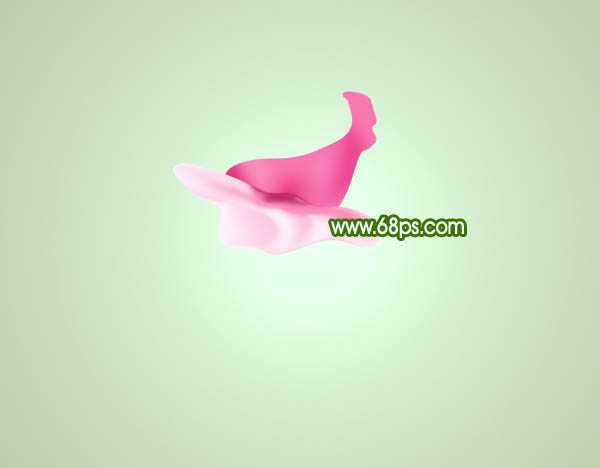
11、在当前组下面新建一个组,再新建图层用钢笔勾出第二片花瓣路径,转为选区后填充粉红色,如下图。
<图15>
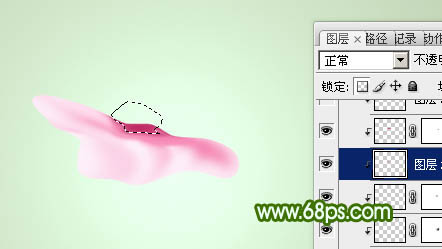
12、同上的方法创建剪切图层后,做出花瓣的暗部。
<图16>
上一页12 下一页 阅读全文
1、新建一个800 * 800像素的画布。选择渐变工具,颜色设置如图1,然后由中心向边角拉出图2所示的径向渐变作为背景。
<图1>
<图2>
2、新建一组,在组里新建一个图层,现在开始制作花瓣部分。先来制作最前面的一片花瓣。用钢笔勾出花瓣的轮廓路径。转为选区后填充淡粉色:#FDEFF9,效果如下图。
<图3>
3、新建一个图层,按Ctrl + Alt + G 创建剪切图层。然后在当前图层下面新建一个图层,用钢笔勾出上部边缘暗部选区,按Ctrl + Alt + D 羽化3个像素后填充比背景稍暗的颜色
<图4>
4、新建一个图层,用钢笔勾出中间暗部选区,羽化2个像素后填充粉红色,取消选区后添加图层蒙版,用黑色画笔把左部边缘部分涂出过渡效果,如下图
<图5>
5、新建一个图层,用钢笔勾出右边高光部分的选区,羽化3个像素后填充淡粉色
<图6>
6、新建一个图层,用钢笔勾出右下部高光部分的选区,羽化3个像素后填充稍亮的粉色
<图7>
7、新建一个图层,用钢笔勾出下部的高光区域选区,转为选区后羽化2个像素并填充淡粉色。
<图8>
8、新建一个图层,用钢笔勾出底部中间位置的暗部选区,羽化2个像素后填充粉红色。
<图9>
9、新建一个图层,同上的方法勾出底部边缘暗部和高光选区,分别填充深浅不同的粉色,如图10,11。
<图10>
<图11>
10、新建一个图层,同上的方法勾出顶部暗部选区,适当羽化后填充稍暗的粉红色,然后再逐步加深,过程如图12,13。花瓣大致完成的效果如图14。
<图12>
<图13>
<图14>
11、在当前组下面新建一个组,再新建图层用钢笔勾出第二片花瓣路径,转为选区后填充粉红色,如下图。
<图15>
12、同上的方法创建剪切图层后,做出花瓣的暗部。
<图16>
上一页12 下一页 阅读全文
标签:
粉色,玫瑰花
幽灵资源网 Design By www.bzswh.com
广告合作:本站广告合作请联系QQ:858582 申请时备注:广告合作(否则不回)
免责声明:本站文章均来自网站采集或用户投稿,网站不提供任何软件下载或自行开发的软件! 如有用户或公司发现本站内容信息存在侵权行为,请邮件告知! 858582#qq.com
免责声明:本站文章均来自网站采集或用户投稿,网站不提供任何软件下载或自行开发的软件! 如有用户或公司发现本站内容信息存在侵权行为,请邮件告知! 858582#qq.com
幽灵资源网 Design By www.bzswh.com
暂无评论...